Process & DFM
Design for Assembly: Part Count First, Fasteners Second
The short answer
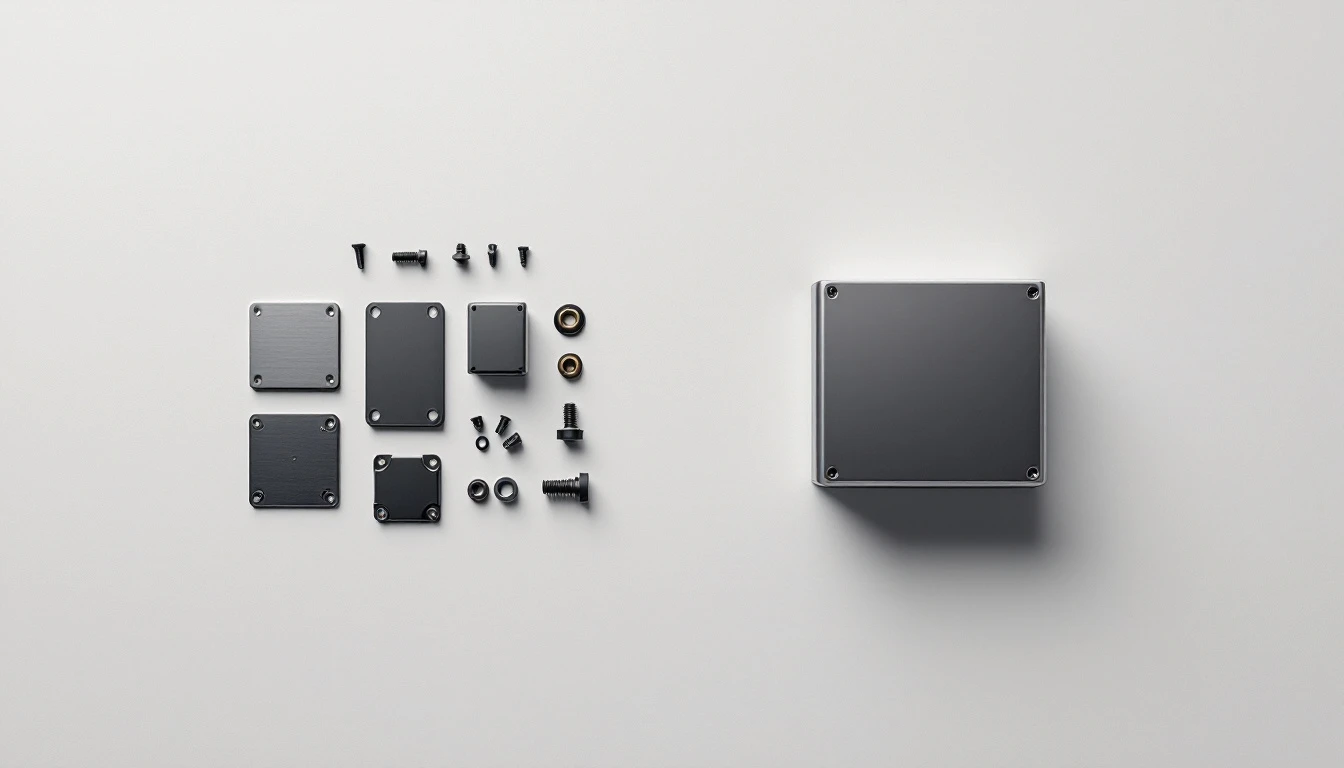
Design for assembly reduces the cost of putting a product together, and it works in a fixed order. First ask whether each part can be deleted, then whether it can be combined with a neighbor, then whether the joint between what remains can be made faster. Part count reduction beats fastener optimization, because every part carries a drawing, a purchase order, an inspection, an inventory line and a handling step, and deleting it removes all of them at once.
DFM and DFA are different questions
Design for manufacturing asks whether each part is easy to make. Design for assembly asks whether the parts are easy to put together. They are related, and they routinely pull in opposite directions.
A single machined block replacing four sheet metal pieces is better DFA and worse DFM: fewer parts to handle, but a more expensive part to cut. Twelve identical screws are worse DFA than four snap-fits and far better DFM, because no mold has to be designed to produce them.
DFMA is the name for holding both at once, which in practice means checking the total rather than optimizing either half. The useful discipline is to run the questions in order, because the early ones are worth more than the later ones.
The ladder: delete, combine, simplify the joint
Work down this ladder in order. Each rung is worth less than the one above it.
Rung one: can this part be deleted? Three questions decide it, and they come from classic DFA analysis. Does this part move relative to the part it attaches to? Must it be a different material for a functional reason, such as insulation or wear? Must it be separable for service or assembly access? If the answer to all three is no, the part is a candidate for elimination or merging into its neighbor.
Rung two: can it be combined? A bracket that is only holding a sensor next to a wall can often become a feature on the wall. A cover plate and a gasket retainer can be one part. Combining is not free: it makes the surviving part more complex to make, and it couples two functions so that a change to one forces a new part for both.
Rung three: can the joint be faster? Only once part count is settled does fastener selection matter, and the sheet metal guide covers what thin material will and will not hold. This is where most teams start, and it is the smallest of the three levers.
A useful sanity check on the whole exercise: count the parts that are only there to hold another part. Fasteners, brackets, spacers, retainers. In most first-pass designs this is a third of the bill of materials, and it is the cheapest third to remove.
When consolidation is the wrong answer
Part reduction is presented as an unqualified good, and it is not. Four cases where more parts is the better design.
The combined part becomes unmakeable. Merging two features can create an undercut a mold cannot release, or a geometry needing a fourth machining setup. A part count of one and a setup count of four is usually the worse trade.
Yield collapses. If one feature of a consolidated part is difficult to hold, scrapping it throws away all the other features too. Two parts with independent yields can be cheaper in total than one part that fails as a unit.
Service demands separability. A wear surface machined into a large housing means replacing the housing when it wears. As a separate insert it is a cheap spare. Parts that are consumed should be parts.
It couples your revisions. Two functions in one part means a change to either function scraps the tooling or the inventory for both. Early in a program, when change is likely, keeping things separate buys real optionality.
Choosing the joint
Once part count is settled, pick the joining method by what it costs you in design effort, tooling, and labor per unit. The right answer moves with volume, the same crossover arithmetic as choosing the process itself: a snap-fit is unbeatable at scale and absurd at a quantity of ten.
| Method | Design effort | Tooling | Labor per unit | Best for | Watch out for |
|---|---|---|---|---|---|
| Machine screws into tapped holes | Low | None | High | Low volume, anything that must be serviced | Tapping time and thread depth. Threads in thin or soft material strip. |
| Threaded inserts (heat set, press) | Low | Insertion tooling | Moderate | Threads in plastic or printed parts | Hole size is critical. Too big and it spins, too small and it splits. |
| Self-clinching hardware (PEM style) | Moderate | Press, standard | Low, pressed in flat | Sheet metal that needs threads | Minimum sheet thickness and hardness. Must be reachable before forming. |
| Rivets | Low | Tool per type | Low | Permanent structural joints in sheet | Not serviceable. Access needed on both sides for some types. |
| Snap fits | High, needs flex calculation | In the mold | Near zero | High-volume molded enclosures | Only viable in molding. Fatigue if repeatedly opened. |
| Welding | Moderate | Fixtures | Moderate | Structural frames, permanent metal joints | Distortion, and it fixes tolerances in a way fasteners do not. |
| Adhesive | Moderate, surface prep matters | Dispensing | Low, but cure time | Dissimilar materials, sealing | Cure time is takt time. Surface prep and shelf life are process controls. |
| Ultrasonic welding | High, needs energy directors | Horn and fixture | Very low, seconds | High-volume plastic, sealed joints | Compatible thermoplastics only. Horn is part specific. |
Read the labor column as the one that scales. Design effort and tooling are paid once; labor is paid on every unit forever.
Standardize what remains
After deleting and combining, the parts left should be as few distinct items as possible.
One driver, one fastener. Ten M3 screws of three different lengths and two head types is three line items, three feeders and a chance to fit the wrong one. Consolidate lengths and heads wherever the design tolerates it. Where two similar fasteners must coexist, make them visibly different rather than nearly identical, since the assembly error people make is fitting the one that almost works.
Design so it can only go together one way. Asymmetric mounting patterns, a keying feature, a connector that will not seat backward. Every orientation a part can be installed in is an orientation somebody will install it in.
Assemble from one direction where you can. Parts that drop in from above, held by gravity while they are fastened, are faster and less error-prone than parts that must be held in place while a screw goes in sideways.
Leave access for the tool, not only for the part. A screw a driver cannot reach at the right angle is an assembly problem that CAD will happily hide from you. Check the tool envelope, not the fastener envelope.
What this means when you are sourcing
Assembly work is quoted differently from part making, and it is worth being explicit about which you want.
If you are ordering parts and assembling them yourself, DFA savings land in your own labor, and nobody will point them out to you.
If you are asking a supplier to assemble, say so in the RFQ, and send the assembly drawing along with the part files. Assembly is quoted from the sequence, not from the part count, in the same way DFM is judged per feature rather than per part, so a supplier who can see the sequence can quote it properly rather than padding for uncertainty.
Specify hardware by manufacturer part number. A standoff is not a commodity: the installation requirements, the hole size and the minimum sheet thickness all come with the part number and none of them come with a description.
Say who supplies the hardware. It is common for a shop to ask the customer to supply specialty hardware, and equally common for that to be discovered late. Settle it in the RFQ.